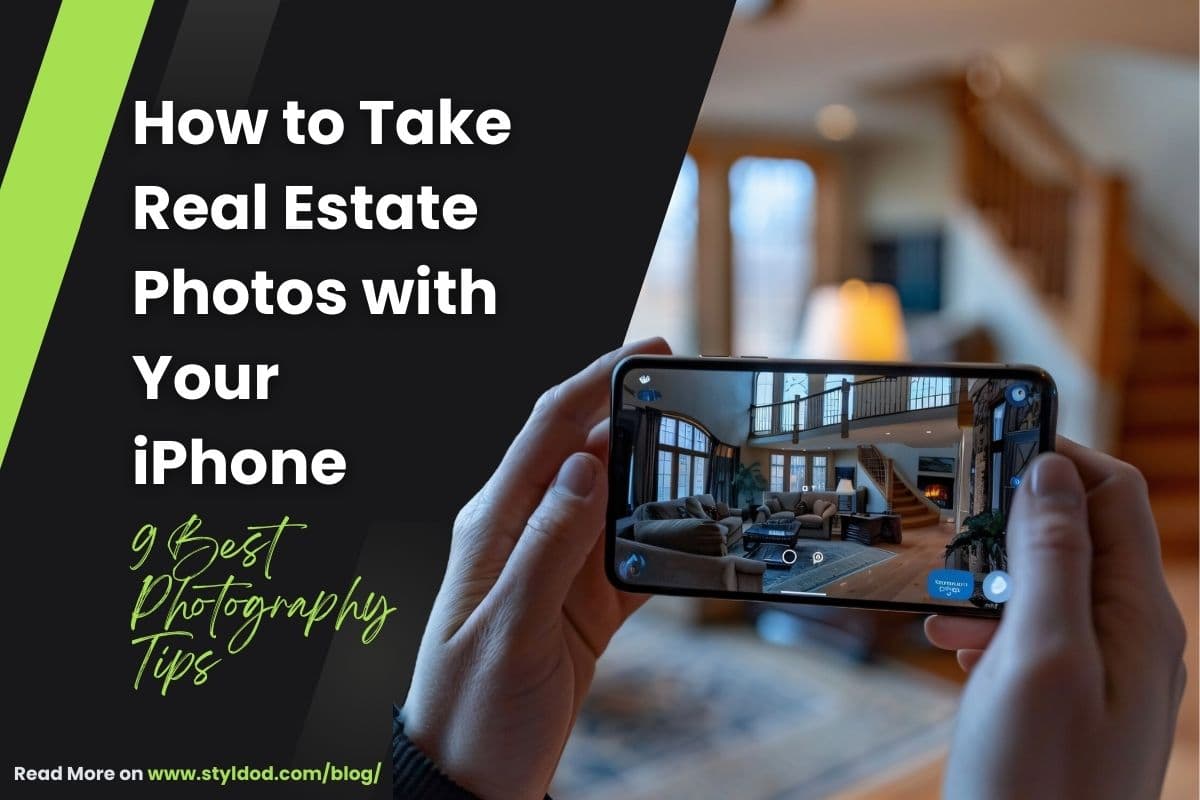
In today’s digital housing market, great photos = faster sales. But here’s the thing many people still get wrong: you don’t need a fancy DSLR camera to take stunning real estate photos. If you’ve got an iPhone, especially one of the newer models like the iPhone 14, 15, or 16 you already have a powerful camera in your pocket. These phones come with features like wide-angle lenses, night mode, and sharp image processing that can easily handle real estate photography. Whether you're a homeowner trying to sell or a realtor looking to improve your listings, you can capture professional-looking photos using just your iPhone. Let’s walk through how to do it right.
Why Use an iPhone for Real Estate Photography?
If you’re in real estate, using an iPhone for photography just makes sense. With features like the ultra-wide lens, you can capture entire rooms in a single shot without needing extra gear. The built-in HDR and RAW support help bring out the finer details, from lighting to textures, so your listings look clear and professional. Plus, the iPhone comes with a built-in level tool that helps you keep your shots straight without any hassle. It’s perfect for agents or even DIY home sellers who want great results without hiring a photographer every time. For many, creating real estate photos with iPhone has become the go-to solution for speed, quality, and affordability.
The latest iPhone 16 Pro just raised the bar even higher. In fact, The Weeknd recently shot his music video Dancing in the Flames using this phone. If it’s good enough for a global music release, it’s definitely good enough for showcasing real estate. Whether you're capturing a cozy studio or a full-sized villa, the iPhone gives you a quick, affordable, and powerful way to get your property seen.
How to Take Real Estate Photos with iPhone?
Here's how to take Real Estate Photos with iPhone:
Step 1: Prepare the Property
Start by getting the space ready. Remove any clutter and put away personal items that could distract from the room itself. Clean every visible surface including floors, windows, and mirrors. A clean, neutral space helps buyers imagine themselves living there, and that’s exactly what you want your photos to encourage.
Step 2: Stage the Property for Appeal
Next, make the place look warm and welcoming. Use simple decor and try not to overcrowd rooms with too much furniture. If there are any noticeable wall or floor issues, cover them up. Open the curtains to let in as much natural light as possible. The goal is to make the space look lived-in without being too perfect or staged. If you’re short on time or don’t want to physically stage the home, virtual staging with Styldod can be a great alternative.
Step 3: Optimize Lighting for Flawless Photos
Lighting can make or break your real estate photos. Natural light is your best friend, so shoot during the day with all the curtains open. Avoid using harsh overhead lights that create odd shadows. If a room feels too dark, use LED lights to brighten it up, but skip the iPhone flash since it tends to wash things out. If possible, try shooting during golden hour, either just after sunrise or before sunset, for that soft and warm glow.
Step 4: Use High Dynamic Range (HDR) Mode
To capture both bright and dark areas in one shot, make sure HDR mode is on. For most iPhones, just go to Settings, tap on Camera, then turn on Smart HDR. If you’re using an older model, you can turn HDR on manually from within the Camera app. HDR is great for real estate shots because it balances out things like bright windows and shadowy corners, giving you a more polished photo.
Step 5: Set the Right iPhone Camera Settings
Before you start snapping, tweak your camera settings. Turn on gridlines to help you keep your shots aligned using the rule of thirds. If your iPhone supports RAW format (like the Pro models), enable it for better editing later. Use the 0.5x ultra-wide lens to capture full rooms, especially in tight spaces. Turn off the flash completely and rely on natural or LED lighting instead. Always shoot in landscape mode, not portrait, and don’t forget to clean your lens for a clear, sharp image.
Step 6: Keep Your iPhone Level and Steady
To avoid tilted or blurry shots, make sure your phone is level. Use the built-in Level tool in the Measure app, or open the Compass app and swipe left to access it. A tripod is ideal, especially when shooting in HDR or in low light. If you're holding the phone by hand, keep it around chest or belly height for better stability and balance.
Step 7: Improve the Composition of Your Shots
Think about what you’re including in each photo. Adding a foreground object like a chair, small table, or plant can help create depth and make the photo feel more inviting. Try to include some of the floor and ceiling to give a better sense of space. Shooting from corners or doorways can help you capture more of the room in one shot.
Step 8: Shoot from Multiple Angles
Don’t just take one photo per room. Move around and capture each space from a few different angles and heights. Try low-angle shots as well as ones from chest height. Having a mix of options will give you more to choose from later and help highlight the room’s best features.
Step 9: Review and Retake
Once you're done shooting, go through your photos. Look closely for blur, glare, odd reflections, or anything that looks out of place. Check that the vertical lines like walls and doorframes look straight. If something feels off, don’t hesitate to retake the shot.
Editing Real Estate Photos: DIY or Pro Help?
Editing is where your photos really come to life. Taking a good shot is important, but without proper editing, it might not catch the eye the way it should. Think of it like this: clicking the photo does 60 percent of the job, and editing finishes the remaining 40 percent. This is especially true when working on real estate photos with iPhone, where a few quick tweaks can turn a simple snapshot into a polished, professional-looking image. While we recommend leaving the editing to professionals like Styldod so we can bring out the best in your images, there are also ways you can handle basic edits on your own if you’ve got the time. Let's take a look at how it's done:
1. DIY Edits on iPhone
If you’ve got a bit of time and want to edit photos yourself, you can use tools like the Photos app, Snapseed, or Lightroom Mobile. These apps let you fine-tune basic things like brightness, contrast, and sharpness. You can straighten tilted shots, fix white balance, and enhance lighting to give your images a cleaner look. This kind of editing is especially useful in iPhone real estate photography, where small adjustments can make a big difference in how a space feels online. Just be careful not to go overboard with filters. Keep the tones natural so your photos feel warm, real, and welcoming. A clean, balanced photo often works better than one that looks too edited.
2. Pro Editing with Styldod
If you want to get the best out of your real estate photos, this is where Styldod comes in. Our team can remove unwanted clutter, enhance lighting, correct colors, and sharpen details to bring out the best in every room. We also offer day-to-dusk conversions, object removal, and even virtual staging to make the space look its absolute best. With pro editing, your listing stands out, grabs attention, and leaves a lasting impression. Instead of spending hours on touch-ups, let us handle the hard part and give you photos that are ready to sell.
Want studio-quality listing photos from your iPhone shots?
Closing Thoughts
You don’t need a fancy setup or a lot of gear to get started with real estate photography. With a bit of planning, some natural light, and your iPhone, you’re already halfway there. In fact, many agents today capture stunning real estate photos with iPhone, proving you don’t need expensive equipment to stand out. Focus on clean spaces, straight angles, and balanced lighting. And when it’s time to polish your photos, tools like Styldod are always there to help. Great listings start with good photos. Now you know how to take them.
Frequently Asked Questions (FAQs)
1. Can you do real estate photography with an iPhone?
Yes, you absolutely can. Newer iPhones have powerful cameras with wide-angle lenses and features like HDR that make them perfect for real estate photography. You just need to prepare the space well and use the right settings.
2. What is the best camera setting for real estate photography?
For DSLR or mirrorless cameras, photographers often use an aperture between F8 and F11 to keep everything sharp and in focus. While you can’t control aperture on iPhone the same way, using features like Smart HDR and RAW capture can help mimic that clarity.
3. How do I use a wide-angle lens on an iPhone?
Open your Camera app and tap the 0.5x option at the bottom of the screen. This activates the ultra-wide lens on newer iPhone models and lets you capture more of the room in a single shot.
4. Is HDR necessary for real estate photography?
Yes, HDR helps balance out the bright and dark areas in a photo. It makes your images look more natural by bringing out details in both the shadows and highlights. On iPhones, you can enable Smart HDR in settings or turn it on manually in older models.
5. What apps can I use to edit real estate photos on iPhone?
Some good editing apps include the built-in Photos app, Snapseed, and Lightroom Mobile. These apps allow you to adjust lighting, straighten shots, and enhance details easily.
6. What is the format for real estate photos?
Most real estate platforms accept JPEG files because they are easy to upload and view. If you're editing your photos professionally, you might shoot in RAW first for better quality, then export them as JPEG.
7. Should real estate photos be portrait or landscape?
Always shoot in landscape. It captures more of the room and feels more natural on websites and listings where horizontal layouts are the norm.